Ready to start creating? I gave you a list of supplies yesterday - got them all? Just as a reminder, this is an original design so please don't copy the pattern - feel free to email the link though :-)
To begin, you'll need to trim six headpins to three different lengths - like this: Each earring needs three headpins, each one with an approximate difference of 1/4". I'm using 2" headpins, so I trimmed to first two to a length of 1-3/4". The second pair is 1-1/2" long and the short pair of headpins are 1-1/4" long. You can also adjust the lengths if you prefer shorter or longer earring dangles as well.
Place your beads onto the headpins - I needed to use seed beads at the end to stop the bigger focal beads from slipping off: We now need to curl the top of the head pin into a complete circle like this:
 Use your round nose pliers and gently curl the headpin to form the circle.
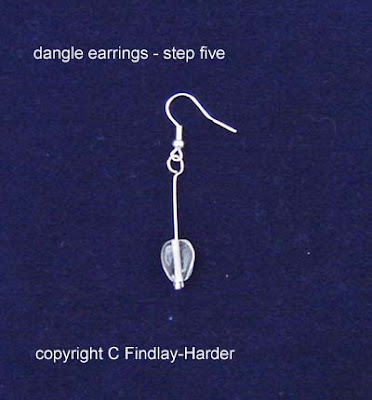
Use the needle nose pliers and crease the headpin at the bottom of the circle - the dangle will hang straighter that way: Open up with the circle and slide the ear wire into it. Close the circle again, so the earring looks like this:
 Now repeat the step with the other earring. Each earring should have three headpins, each a different length.
Here's how the finished pair look: The sky really is the limit with this simple design - you can use pearls, or crystals, or shiny glass beads...
Thursday, April 24, 2008
tutorial: easy dangle earrings, part two
Subscribe to:
Post Comments (Atom)


2 comments:
those are just gorgeous!
These are darling Chloe. Very feminine, very bridal; but the design could easily be adapted for everyday wear. Thank you!
Post a Comment